Interesting Pages You should look at

Friday, November 29, 2013

Chore Chart

I have come to the conclusion that my house will never be fully "settled".  Why? Because I have children.

When we moved into this place 17 months ago, my husband and I said that we didn't want to move again for many years (we move about every 18-24 months).  For the last year we have been trying to sign on this place so that we can own it and do work to it to personalize it and make this our home.  In the last 17 months we have had 3 birthday parties, one Christmas party, one housewarming party, bought 2 new beds, rearranged bedrooms once, switched the playroom and classroom, and are currently in the process of adopting.  To top it off, this week I had an exterminator come and had to empty out the kitchen and bathrooms.  Since this had to be done I figured that would be a great time to start spring cleaning!  Every time I think I am done moving things around, it's time to move something else.  God has a funny sense of humor :)

In order to keep things somewhat tidy and in order I have created this chore sheet to help keep the kids on track.  This is filled out daily (laminated and marked with dry erase markers) and then when chores have been 'mom approved' they are submitted to my job chart so they can earn their allowance, tv time, etc...

I am also working on detailed job cards to instruct the kids on EXACTLY what to do when they clean their room, mop the floor, etc.  That will be in a later post

Wednesday, November 27, 2013

Health Tracker

I really don't like when I take one of the kids to the doctor and she asks, "How long has this been going on?"  I don't know!  I don't take a daily inventory of my children's health unless they specify that something is wrong.  On those busy days I may not get to ask how they slept or how they feel today.  We home school, but that doesn't mean that I see everything that is going on with their health.  Unfortunately, when you see someone every single day you miss some of the little things.

Occasionally, when I watch the news or Dr. Oz, I will see how important it is to watch closely for little signs that can help prevent something big.  So, that lead me to create a daily health log.  Everyone of us is supposed to fill this out every morning and every night.

One side is only for 3 days, so it fills up quickly.  I recommend printing this double sided.  With my son's asthma, I am able to have a place for his daily lung capacity tests, meds, and even the pollen count and what we did so I know his triggers.

I have this in excel, so if you want a copy, email me.

This has really big a big help.  The kids fill it out and when they are sick enough to take to the doc, I just grab my little note book and take it along.  This way the doc can see what their diet is like, how they have been sleeping and how they felt up to bringing them in!

Update - We still use this (almost) daily, but for other records I found these 2 great websites.  It will be a HUGE help in keeping track of my mom and grandmas info - for some odd reason I cant remember every date of every surgery for my 3 kids, hubby, myself AND mom and gma....


Tuesday, November 26, 2013

Freezer Meals pt 4 - Sausage and Apples

First off, let me apologize for the lack of photos.  Whenever I make this the kids attack the pan!  This is a very simple 2 ingredient, one pan recipe.  I typically triple (or make 10 single batches and freeze in 5 bags) of this dish.  It is a favorite at our house and with anyone who tries it.


Sausage and Apples

Ingredients:

Jimmy Dean ground breakfast sausage
Can of Apple Pie Filling

To prepare:
There are two ways to prepare the meat: 1) ground  2) patties.
Cook your meat, drain the grease and cool
Combine apple pie filling with sausage and place in Ziploc bag
Freeze

To Heat:

Remove contents from bag and place in slow cooker.
Heat on low 2-4  hours, or heat until desired temperature.

If you do not freeze this, just heat until the apple pie filling is bubbly


This has been a family favorite for many years.  It is great for any meal and I never have left overs.  It sounds strange, but the sweet and savory go together very well.  My mom prepares the meat in patties, I however, ground the meat.  I have found that with 3 kids, the meat goes a bit further when ground.

Monday, November 25, 2013

Menu Planner

I am forever reading blogs and books and such about home organization.  It is a full -time job to keep a house full of kids, dogs, and friends organized!

One of the suggestions that always comes up, is to create a weekly menu.  This doesn't sound so tough, until you realize that it's difficult to come up with one from scratch that makes sense, is easy for everyone to read, and easy for mom to use weekly.  I have found a few, but they are all in pdf format and I like to personalize my lists (I have a lot!).  So, I am going to share my copy - it is in excel and open for you to alter and change as you see fit for your house :)  This is a photo of it, if you would like a copy, feel free to email me (I don't know how to upload an .xlsx file)


Saturday, November 23, 2013

Cheerios


Remember when we were kids and eating bowls of sugary sweet cereal EVERY morning? Yum!   

Well, now that I am a mom (and paying the doctor and dentist bills) I am more careful about what the kids and I eat.  I used to live off Cookie crisp and Reese's puffs cereal. I still buy those, but its rare and only as a snack, never a meal.

Well back in February, after a "lock in" at my house, a boy left a box of chocolate Cheerios at my house. 

I thought, hmmm, chocolate cheerios?  The kids and I tried them, they were ok. Not something I would eat every morning. Then I saw an ad for peanut butter Cheerios!   

 Whoah!  It took me about 3 weeks to find a store that actually had them in stock, but when I did we were very excited!  We went home and mixed the box of chocolate and the box of peanut butter cheerios. WOW! 

Cheerios is a brand we all know and love. We give cheerios to our toddlers as a first food. We know they are healthy and are full of whole grains.  Now, they taste like recesses puffs!  Since that first mixing, we have bought 4 boxes of each flavor :)   My kids eat this stuff like they have never had yummy cereal before!  It is sweet, but not so overly sweet that I cant handle 1 or 2 (or 3) bowls at 6 am :)


I also found some yummy recipes at http://www.cheerios.com/Products/Chocolate-Cheerios using Chocolate Cheerios.  I bet if I mixed the two flavors together I could create pure bliss!

Update 6/29/12 -

I just bought 4 more boxes each of the choco and pb cheerios, and all over the choco box is "MAKE YOUR CHEERIOS MIX!"  They are giving us flavor combos besides (it wasn't even included!:{ ) chocolate.  I got most of the ideas from their facebook page

Banana Nut + Chocolate = 


Cinnamon burst + Frosted =


Banana nut + Fruity = 


Freezer meals pt 3 - Chicken Tortilla Soup

Chicken Tortilla Soup
 
Ingredients:

1lb chicken breast, cooked and shredded
15oz can sweet whole corn kernels, drained
15oz can diced tomatoes, drained
5 cups chicken stock
3/4 cup onion, chopped
3/4 cup green pepper, chopped
2 cloves garlic, minced
1/4 tsp chili powder
1 1/2 tsp salt, divided
1 tsp ground pepper, divided
Monterey Jack cheese, shredded

Seasoned tortilla strips - Keep these separate until time to serve

Directions:

To a large pot add all of your ingredients, mix well.  Scoop into Ziploc freezer bag.  Freeze.

To serve:

Defrost in refrigerator overnight
Add contents of bag to crock pot and cook on low 6-8 hours or high for 3-4.

When ready to eat:

Top off with a generous helping of shredded cheese and seasoned tortilla strips. Soup may be stored in the fridge for up to several days. 

Friday, November 22, 2013

Lysol Touchless Soap Dispenser

We do a lot of hand washing in this house.  After picking up dog poo, using the bathroom, touching raw meat, sneezing, coughing, after we have been out anywhere else....  Hands are gross.  When this soap dispenser first came out, I thought "just another thing for the bathrooms."  Gotta say - I kinda like it.  I don't have to wash the soap dispenser every couple of days any more.  The only problem is that I am always buying refills.  They are expensive and hard to find.  I am really surprised at how hard refills are to find.  I can find dispensers all day long, but not refills.  My solution - refill it myself with a cheaper soap.
In order to do this, take the soap container off the dispenser, turn it upside down and CAREFULLY take a butter knife and insert it under the rim of the soap container.  It pops right off.
 
I take this time to clean the entire thing.  The dispenser and the residue from the lid of the soap container. 

I have noticed that the area where the soap comes out can get clogged when using a thick soap - like sofsoap.  If the dispenser is flashing red, has newer batteries, but wont dispense soap, make sure that the area where the soap comes out is clean and residue free. 
Put in the new soap (I am using a .10 bottle of Palmolive I got on clearance

When the bottle is full again, simply put the lid back on.  Notice where the white sticker thing is.

Make sure that the white sticker is on top of the red-orange spot on the dispenser.


Now your soap dispenser is ready to go.  I wouldn't do this every time, but it works for a few refills.  It is a bugger to get off, but really saves a lot of money.

Thursday, November 21, 2013

Ice Cream Cupcakes

For my grand and great-grandmothers birthdays we decided to make them a less-sugary, unconventional treat;  So we decided on Ice cream Cupcakes!

Ingredients:  
 1 container of strawberries
 1 tub vanilla ice cream
 1 box chocolate cake 
 1 box fancy cupcake holders
 1 bag cheap cupcake holders
 1 box strawberry JELL-O pudding mix
 1 tub strawberry cream cheese
1 individual size container strawberry yogurt
1 tub strawberry or original Cool Whip
 Ingredients on back of cake box

 Make cake batter according to package directions - stir until smooth


Scoop the batter into the cheap cup cake holders.
  

  You are making the top and bottom of the cupcakes.
                                                    

MMM! Yummy!

Bake Cupcakes according to the package directions and allow to cool.

While cupcakes are cooking - use a separate cupcake tin to make the ice cream molds.  We lined the tins with foil so the ice cream would be easy to remove.

We tried two different ways with the ice cream - 

1. Use an apple core-er and take the center of the cooled cucake out and then fill the hole with ice cream
  
This worked ok, but there wasn't much ice cream.  So, we thought about option 2 - a layer of ice cream

1st - cut the cup cake in half (like a layer cake) and put the (previously made and frozen) ice cream patty in the middle

Which ever way you decide to put the ice cream in works.  Then we made the icing!

This part was super yummy!

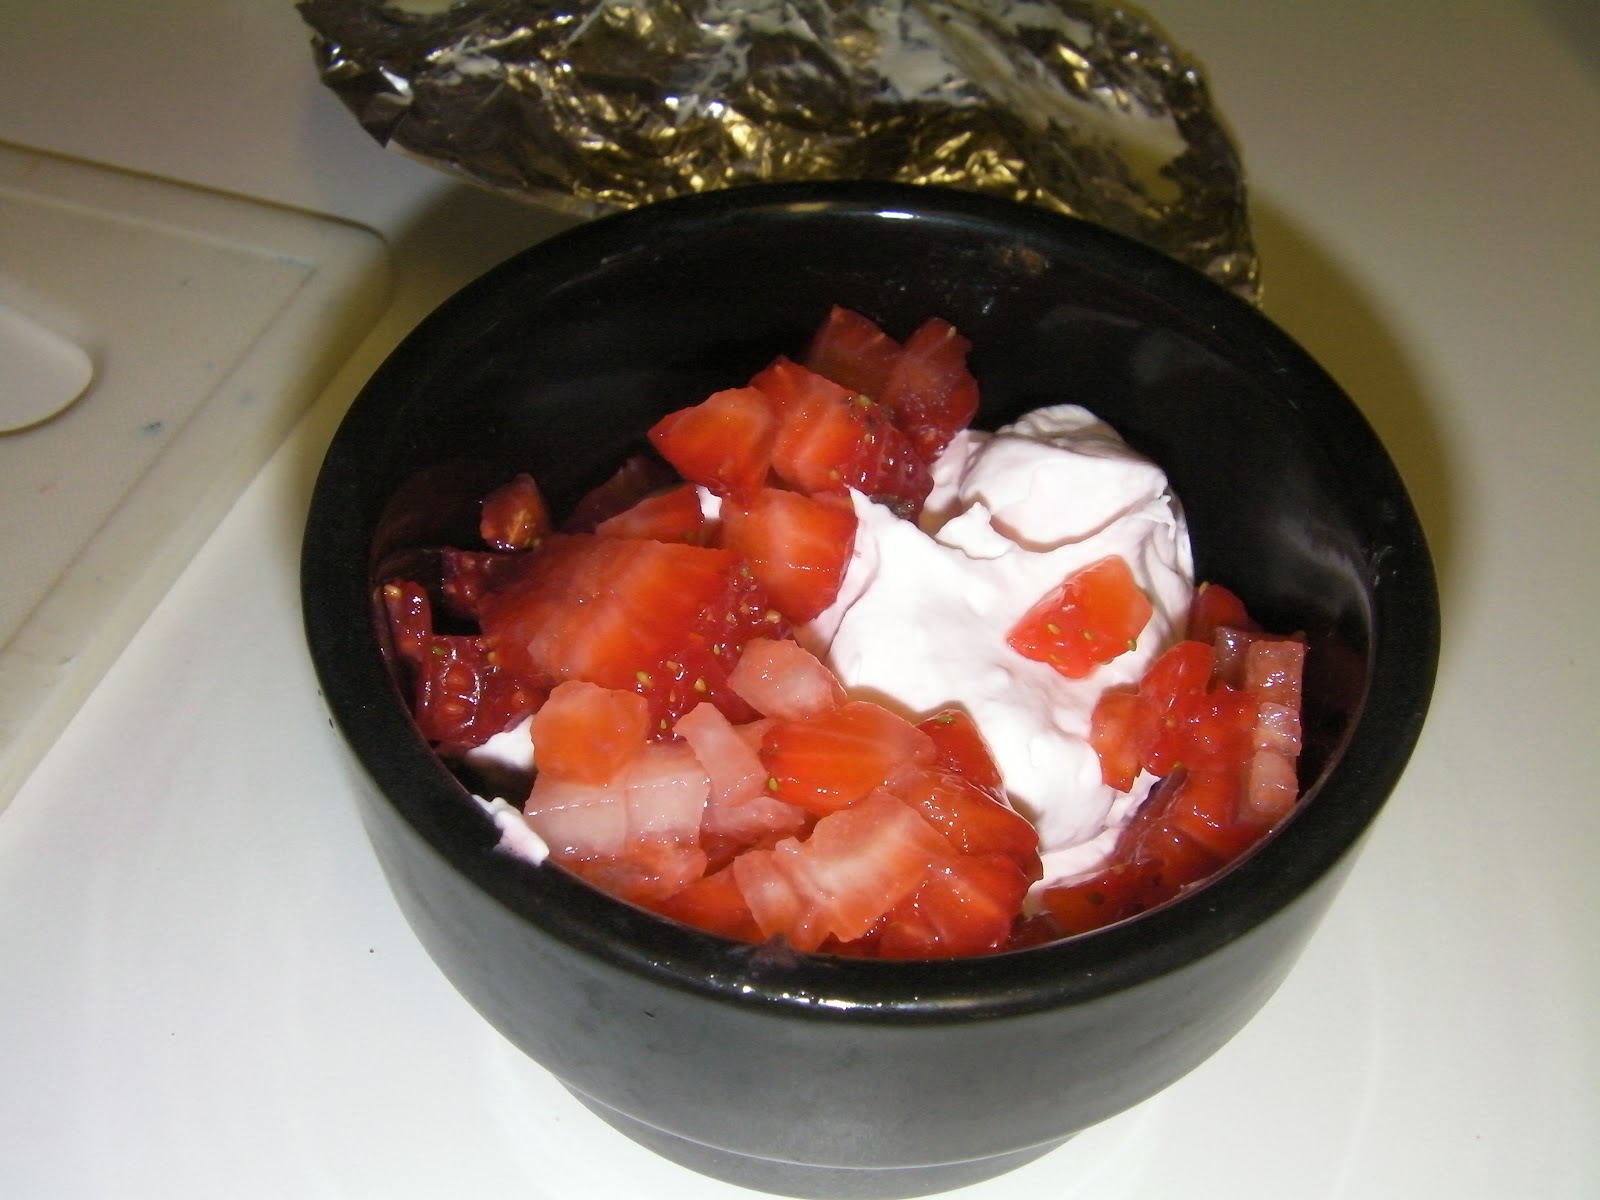
Mix together the yogurt, cool whip, cream cheese, and pudding mix.  Just for kicks we also added freshly chopped strawberries.


The strawberries helped enhance the flavor!


Then we put the icing on top in  large dollops


Just for fun, on some of these we also added sliced berries to the middle.


This one had the ice cream in the center  ;)


Now, I love DIY, and I love baking, but this WAS an experiment.

These tasted really yummy - when they were fresh.  After freezing for a few hours, we discovered the flaws.
1 - frozen strawberries are hard to eat
2 - frozen cake isn't very yummy
3 - the icing freezes

Now, the solution to the problem..... Well, we came up with 2 of them.

1.  Leave the ice cream out.  Now since this just isn't possible - THEY'RE ICE CREAM CUPCAKES! This was not going to happen.  This is a possibility if  we were going to take them to church and there was no way to freeze them, but otherwise, they have to have ice cream!

2.  Put the cupcakes together right before serving them.  Seems like a simple thing, why didn't we think of that before......


Freezer meals pt 2 - chili

I love making homemade chili - this stuff makes it yummy and super easy.


Tonight I made 18 quarts and put it into 9 gallon sized freezer bags (obviously not completely filled - that would be way more than 1 meal).  I'm glad my kids like my chili.  This is a very easy recipe to make since you have only 4 ingredients.  You can minimize dishes by simply mixing everything in the bag.  You don't even have to mix it because when you cook it, it will mix.

Important - make sure the meat is cooled before putting it in the bag or you can melt the bag.


Chili

1 pound ground beef (or turkey) cooked, drained, and cooled
1 can Hunts Dinner Starters for Chili
1 can Bush's Best Chili Beans
1 onion - diced

Put everything in a gallon sized Ziploc bag and freeze flat.

To cook

Defrost overnight in the refrigerator
Place contents in a crock pot and cook on low for 6 hours


Tuesday, November 19, 2013

Lego Fish Gift

What do you get for someone who has everything?  We ask this every December and February about my grandmother - the kids great grandmother.  At 84 she has everything she needs and wants.  If she wants it and doesn't have it - she buys it.  Great place to be, but where does that leave us when it's time to give gifts?  Enter a child's imagination.


WARNING: this is a permanent project!!!!!!

A great present to give someone is a fish but if they can’t take care of an animal then this is a great alternative. Items you need are:
Hot glue
Hot glue gun
A bottle/vase/container with a lid
A toy fish (if you use LEGO’s to build a fish then your fish will float)
Pebbles
2 clear rods
A fake plant
A bow
Water

1.      First you will cut the rods to the correct size so the fish will appear to be floating in the water.  We used dowel rods at first, but then realized after the project was done - something clear would have worked much much better.  
  
2.       Then you will glue the rods to the fish. (I had to put one rod on the fish after he was in because he did not fit) 
3.       After that you will glue the other side of the rod to the bottom of the bottle/vase/container and let it dry for 5 min. 
4.       Now you will pour the rocks in and then the plant gets put in.
5.       Then fill the bottle/vase/container with water.  A month after we finished, we realized that double filtered water wasn't enough.  Splurge, and buy distilled water.  Otherwise you end up with funky, cloudy water with floaties. YUCK!
6.       Put the lid on and glue the bow on the lid.

7.       Now give it to someone.
(If you want to experiment and use glass pebbles then just glue 14 pebbles to your fish instead of using rods but don’t glue the rocks to the bottle/vase/container)  Gluing glass pebbles didn't work for us, because as soon as the hot glue hit the water, the rocks came apart, or there just weren't enough to make fishy sink.  The way we have the plant and rocks, really hids the dowel rods, and great grandma loved it!